Choose a tile size that resolves the room
Large tiles can work in a small bathroom, and smaller tiles can work in a generous one. The useful question is how the proposed format meets the room’s actual dimensions, fittings and changes of surface. Ask for a setting-out review before committing to a purchase. A tile that looks calm on a display board may create awkward cuts around a vanity or opening, while a smaller format may bring a deliberate rhythm the owner enjoys. Compare the complete wall and floor composition, including joints and edges. Tile size is one decision within a coordinated finish system; it does not establish waterproofing or floor suitability.
Begin with the views that matter
Identify what is seen from the bathroom doorway, from the vanity and from the shower entrance. Place the main fixtures and openings on measured drawings before judging the pattern. Ask the designer where full pieces, cut pieces and changes in direction will appear. Pay particular attention to a prominent wall rather than insisting that every surface follow an identical arrangement. A balanced composition can use different formats for different locations. Record which views are most important to the owner, because compromises may be necessary where several fixtures compete for alignment. This turns an abstract preference for large or small tiles into a reviewable design decision.
Compare visual continuity with deliberate pattern
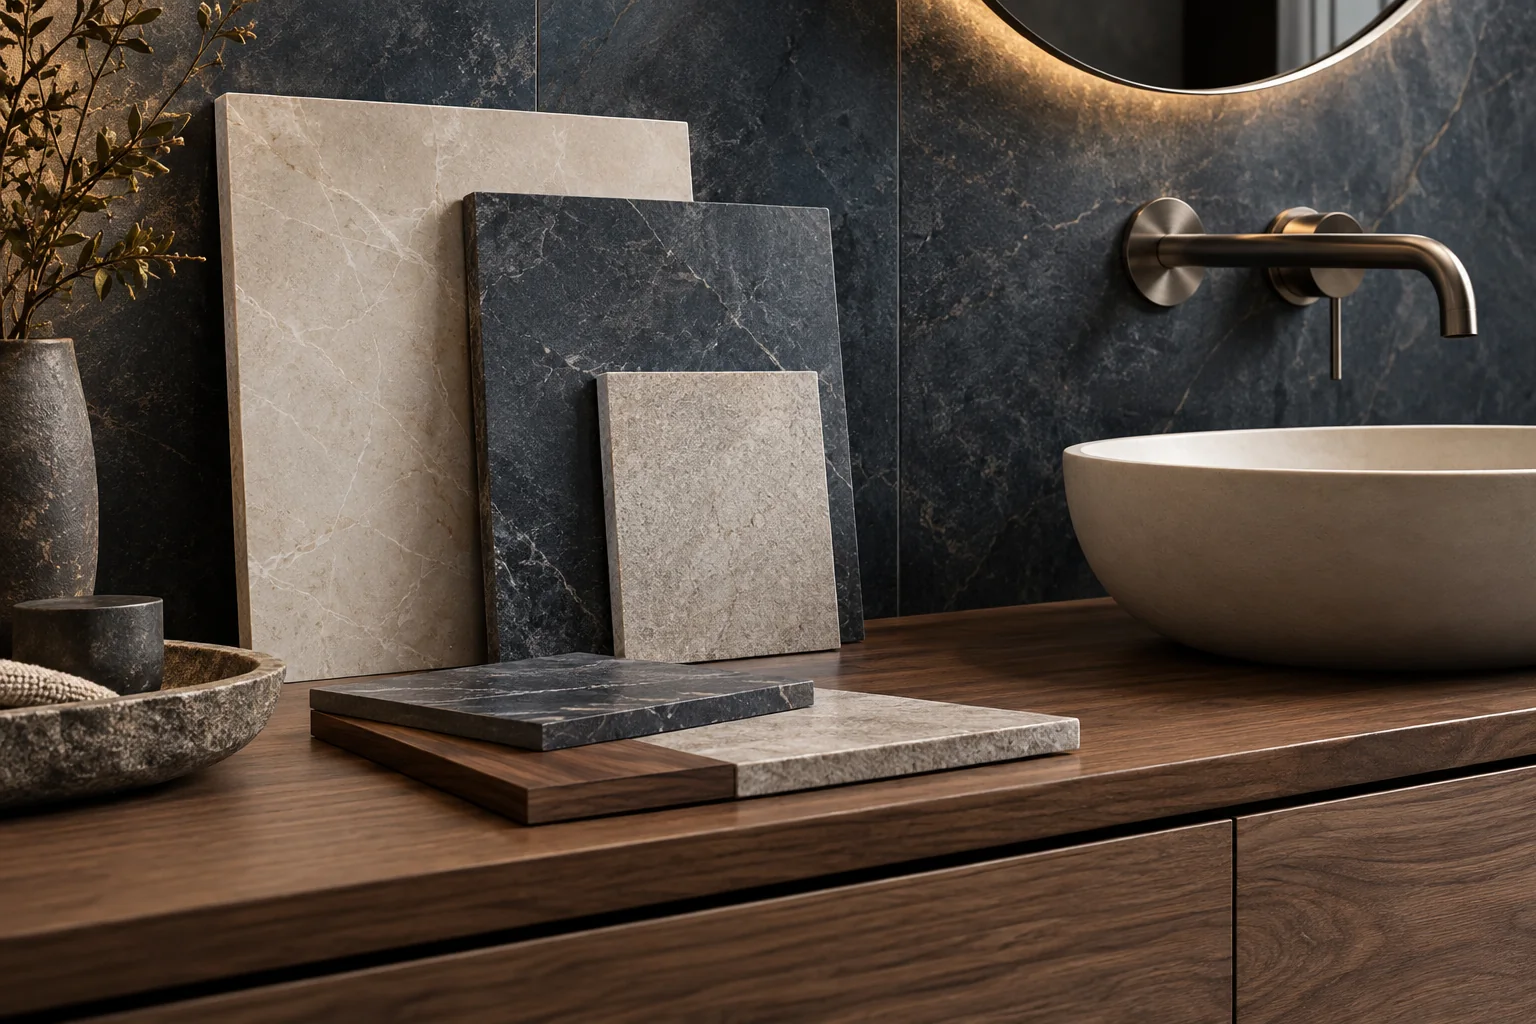
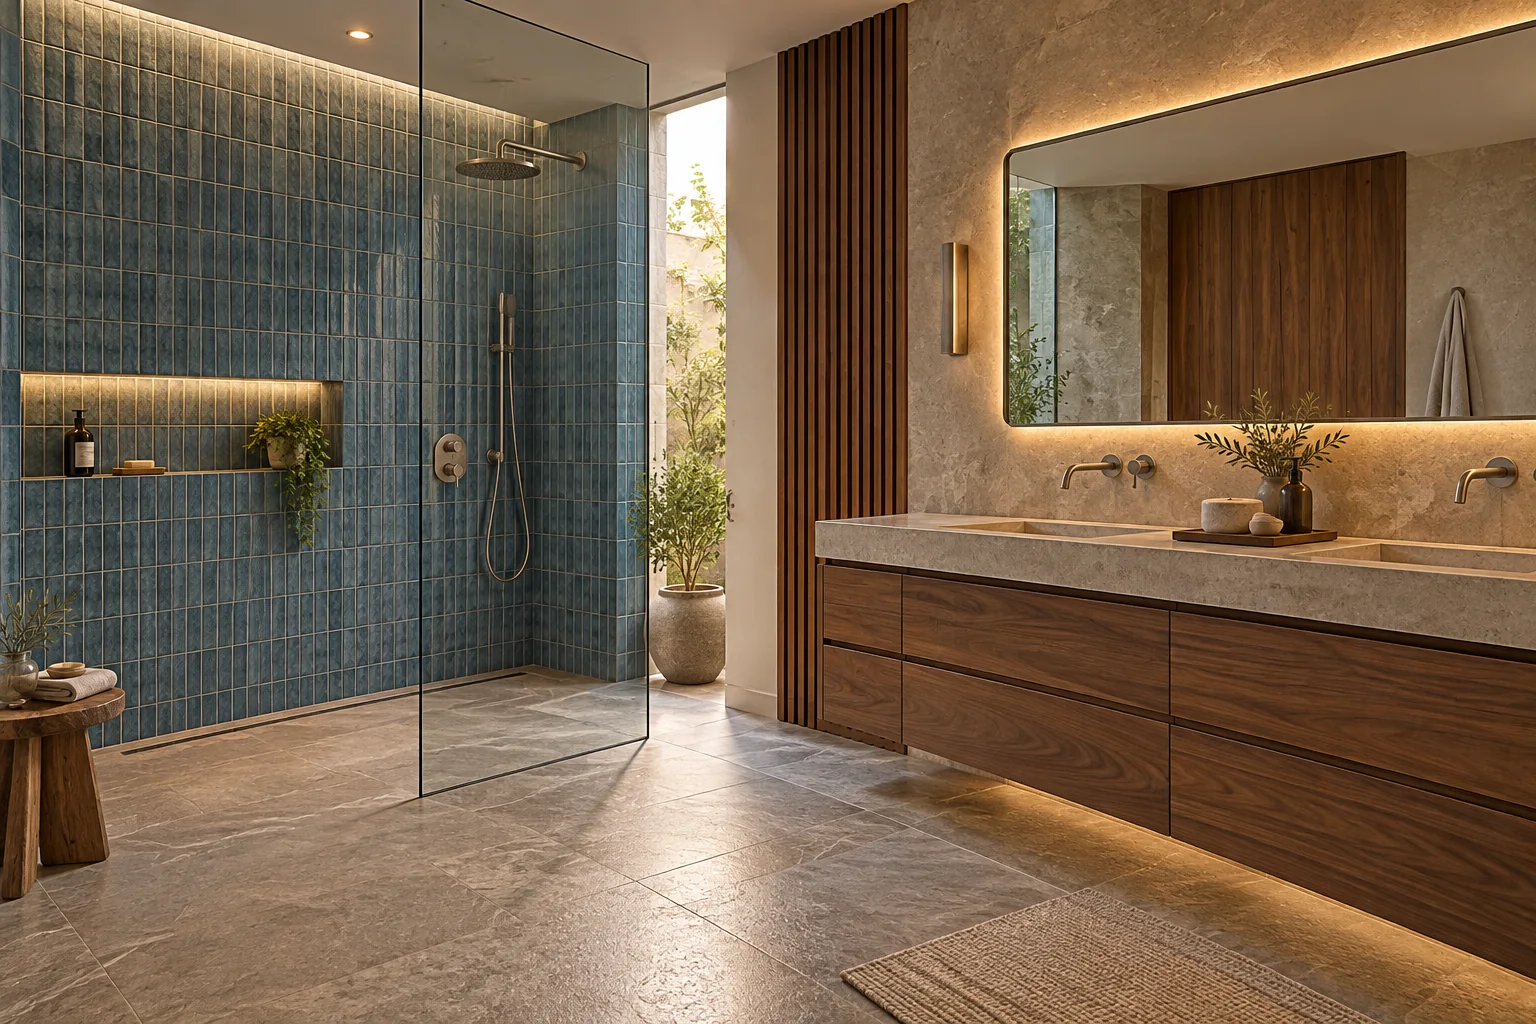
Marazzi’s bathroom guide notes that larger slabs can create a more continuous visual impression even in compact bathrooms, while emphasising the relationship between tile proportions and the actual room. Treat that as an option to test, not a guarantee that a particular format will make every bathroom feel larger. In your own design review, compare a quieter field with a more visibly jointed pattern and ask which suits the room’s focal points. Include the proposed grout colour in that comparison. A small-format wall chosen for texture and rhythm has a different purpose from a large-format background intended to sit quietly behind the vanity.
Review cuts, corners and openings together
Request elevations that show the tile grid alongside the mirror, vanity, controls, niches and door openings. Ask how exposed edges and external corners will be finished, and whether the selected range includes the required complementary pieces. A sample of the tile alone does not explain those junctions. Where several tile sizes or finishes meet, have the relevant professionals review the transition as part of the proposed system. Do not specify an arbitrary joint width from a photograph or ask for a jointless installation. The appropriate detailing belongs with the selected products, substrate and professional installation design.
Keep floor suitability separate from appearance
A matching wall and floor colour does not mean the same product is appropriate in both locations. Ask the supplier and designer to confirm the intended application of each exact tile and finish, including the conditions in the proposed wet area. Request the relevant current product information and have a competent specialist interpret it for the project. Size, texture and appearance alone do not prove slip performance or suitability. Similarly, the floor layout must be coordinated with the actual drainage and levels by the responsible team. This guide helps owners ask better questions; it does not provide a tile installation or wet-area safety specification.
Planning example: a compact guest bathroom
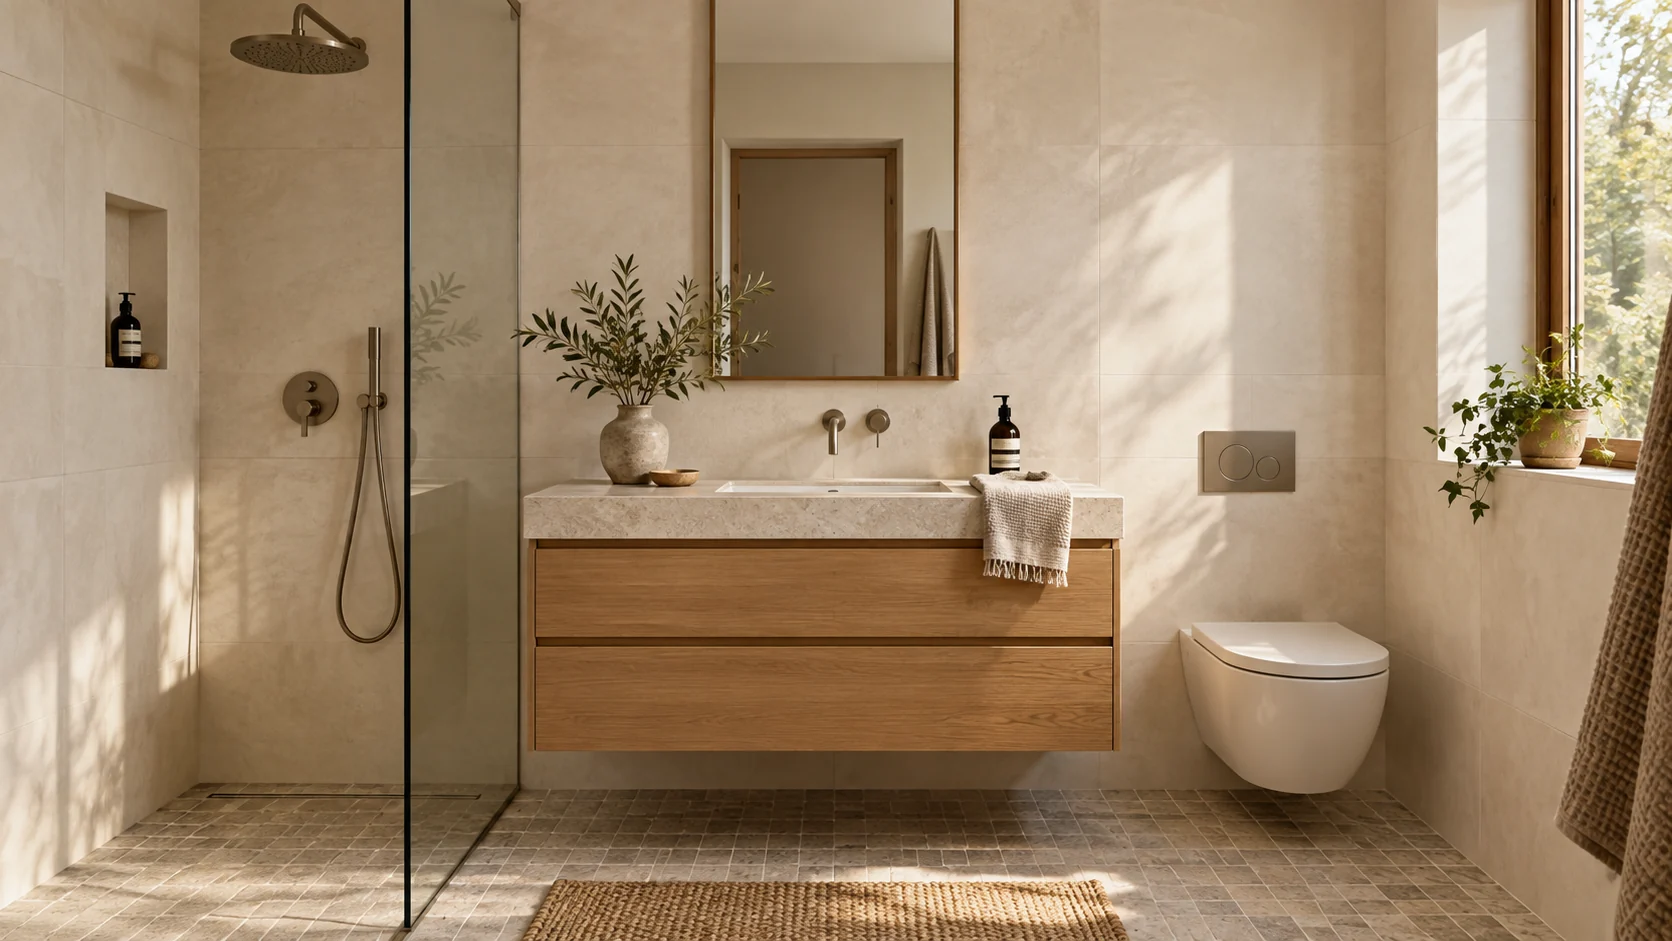
Imagine a compact guest bathroom with an oak vanity opposite the door, a shower at one end and a narrow return beside the mirror. The owner first chooses the largest wall format in a preferred range because the sample feels calm. On the elevation, however, the initial grid leaves a conspicuous narrow cut beside the mirror. The designer compares a shifted setting-out, a different format in the same palette and a deliberate feature treatment on that return. The owner chooses the option that gives the vanity wall the clearest composition while retaining a separately specified floor product. This planning example does not assume that changing tile size solves every site constraint. It shows why a drawing with real fittings can answer a question that showroom samples cannot.
Compare the supply and installation scope
Ask for quotations against the same selected products and setting-out information. The scope should identify surface preparation, tile supply, required trims or edge treatments, grout and the work around fittings. Have the contractor determine quantities and cutting allowances from the actual arrangement rather than applying a guessed allowance yourself. Clarify how fragile or oversized pieces will be handled and delivered where relevant, without assuming that all formats have the same logistics. Separate any unassessed substrate repairs from a firm decorative price. If the selection changes after quotation, request a revised scope so the owner can see whether the consequences extend beyond the tile’s purchase price.
Check the maintenance expectations before ordering
Review the proposed finish and joint treatment with the person who will clean the bathroom. Ask for product-specific care instructions and clarity on any surfaces requiring different products or methods. More or fewer visible joints is only one part of the maintenance discussion; surface texture, access behind fittings and exposed edges also matter to the brief. Keep the exact references for tile, grout and related finishes so future advice concerns the actual installation. If spare material is proposed, agree the quantity, identification and storage arrangement with the supplier. Do not assume that a visually similar replacement will match an existing batch.
A tile-selection checklist with a useful next step
Take the shortlisted samples, room photographs and fixture choices to a bathroom-tiling review. Ask for an option comparison based on the measured room before approving the final order. The following checklist should leave the owner with a clear selection and a visible list of anything still awaiting professional confirmation.
- The main elevations show real fittings, openings and the proposed joint pattern.
- Prominent cuts, corners, returns and exposed edges have been reviewed.
- Each product and finish has a confirmed intended location.
- Floor and wet-area suitability have been assessed independently of appearance.
- Drainage and level interfaces are assigned to the responsible specialist.
- The quotation identifies preparation, materials, edge details and exclusions.
- Quantities and allowances come from the agreed layout and contractor review.
- The owner understands the selected products’ care requirements and retains their references.
Sources & further reading
Make this useful for your project.
A review of your property and priorities can turn general guidance into a defined brief.
Explore our servicesDiscuss your project